
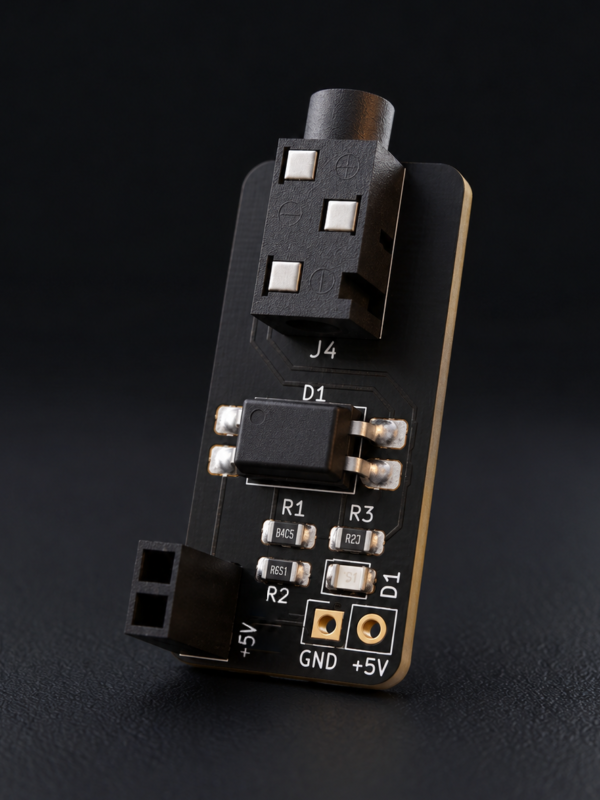
Raspberry Pi DSLR Camera Trigger
Automate your camera’s shutter for time-lapse photography and long-duration projects. Use a Raspberry Pi or another compatible 3.3 V or 5 V control signal to trigger your camera without needing USB, Wi-Fi or Bluetooth camera control.
The compact module connects directly to the Raspberry Pi’s 40-pin GPIO header and provides a 3.5 mm output jack for connecting to your camera with the appropriate cable.
- Automated shutter control for time-lapse photography and other projects
- Broad camera compatibility with cameras that support an electrical wired shutter release
- Compact design that fits inside many Raspberry Pi enclosures
- Optically isolated interface to help protect your camera from electrical faults on the Raspberry Pi side
Please note: Camera cables and adapters are not included. Your camera may require a camera-specific cable or adapter.
Technical Specifications
- Input voltage: 3.3–5.0 V DC
- Output: Single-channel, current-limited NPN transistor
- Camera connection: 3.5 mm jack
- Isolation: Optical isolation, rated up to 5,000 V
- Host interface: Raspberry Pi 40-pin GPIO header
- Control signal: GPIO21 (physical pin 40)
- Ground: GND (physical pin 39)
Installation
1. Shut down the Raspberry Pi and disconnect power before installing the module.
2. Identify physical GPIO pins 39 (GND) and 40 (GPIO21).
3. Align the module with the correct pins and orientation according to the board markings. Do not force it onto the header.
4. Connect the 3.5 mm output to your camera using the appropriate cable or adapter.
5. Power up the Raspberry Pi and test the shutter connection.
Example: Triggering the Camera with Python
The following example briefly activates GPIO21 to trigger the module. It assumes the `RPi.GPIO` library is installed and supported by your Raspberry Pi software environment.
#!/usr/bin/env python3
from time import sleep
import RPi.GPIO as GPIO

GPIO.setmode(GPIO.BCM)
GPIO.setwarnings(False)
GPIO.setup(21, GPIO.OUT)

try:
    GPIO.output(21, True)
    sleep(0.3)
    GPIO.output(21, False)
    sleep(0.1)
finally:
    GPIO.cleanup()
The example demonstrates basic shutter triggering; adapt it to your timing requirements and software workflow. The module can also be used with compatible applications such as OctoPrint’s Octolapse plugin.
Reviews
There are no reviews yet.